
Week 3
Objectives
Group assignment
- Characterize Laser cutter’s focus, power, speed, rate, Kerf, Joint clearance and types
Individual assignment
Vinyl cutting
- Vinyl cutting
- Creating a parametric construction kit
Group assignment
The group assignment can be found here
Contents
-
Vinyl cutting
-
Laser cutting
Vinyl cutting
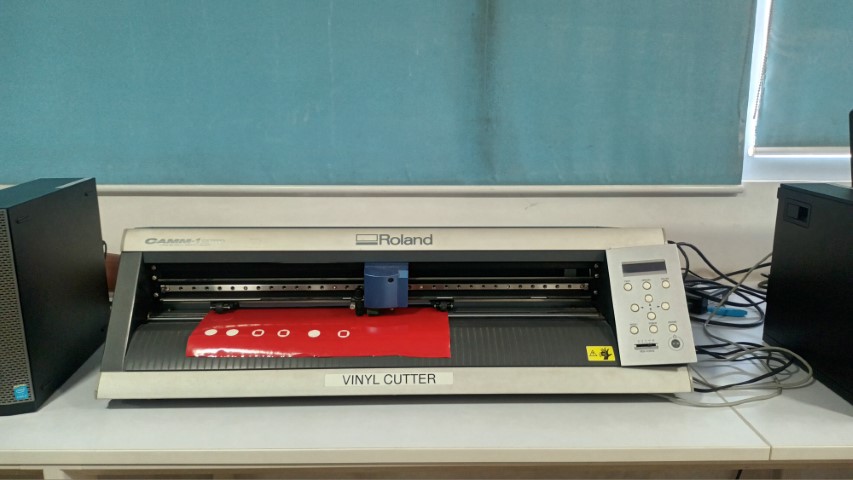
1.What is a Vinyl cutter
A vinyl cutter is a type of computer-controlled machine tool. The computer controls the movement of a sharp blade over the surface of the material as it would the nozzles of an ink-jet printer. This blade is used to cut out shapes and letters from sheets of thin self-adhesive plastic ( vinyl ). The vinyl can then be stuck to a variety of surfaces depending on the adhesive and type of material.
To cut out a design, a vector-based image must be created using vector drawing software . Some vinyl cutters are marketed to small in-home businesses and require download and use of a proprietary editing software. The design is then sent to the cutter where it cuts along the vector paths laid out in the design. The cutter is capable of moving the blade on an X and Y axis over the material, cutting it into the required shapes. The vinyl material comes in long rolls allowing projects with significant length like banners or billboards to be easily cut.
A major limitation with vinyl cutters is that they can only cut shapes from solid colours of vinyl, paper, card or thin plastic sheets such as Mylar . The type and thickness of material will vary for each cutter and how much downforce the cutter is capable of. If the material has no backing, a backing sheet, material or cutting mat and a temporary adhesive are needed to allow the cutter to cut through the material.
A design with multiple colours must have each colour cut separately and then layered on top of each other as it is applied to the substrate. This is a process that is often applied in stencil art . Also, since the shapes are cut out of solid colours, photographs and gradients cannot be reproduced with a stand-alone cutter.

- this is the blade used for cutting
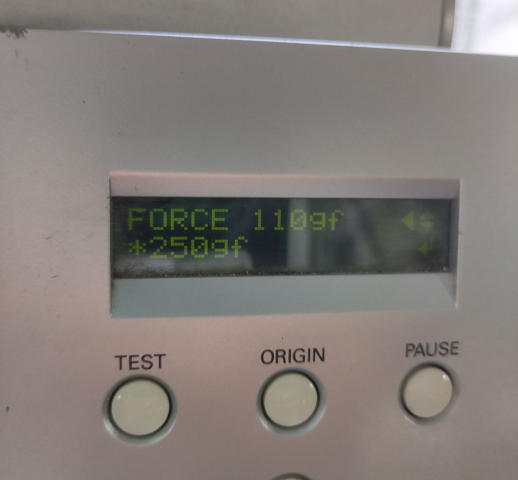
- This is the console, this is the force used to cut
Using Vinyl cutter
1.Designing the sticker
- The images has to be either SVG or PNG format.
- I created mine in inkscape.
- Gave the size as 60mmx60mm
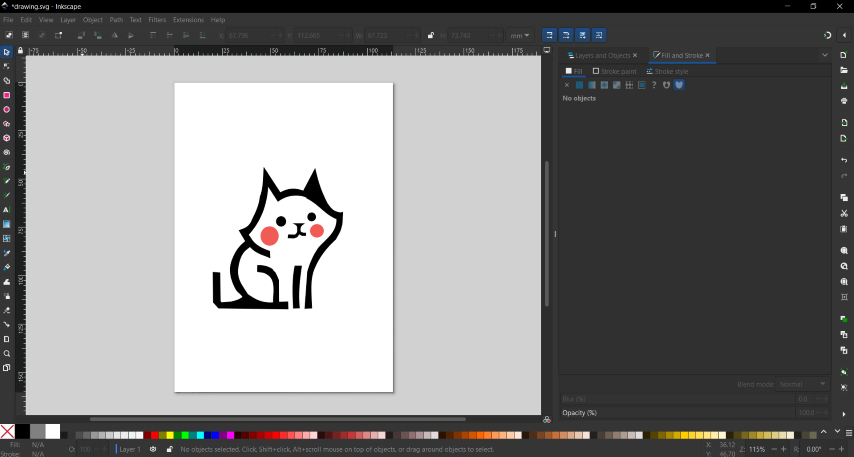
And I exported the file in SVG format. I was planning to cut it using one single colour
2.Controlling the machine using mods
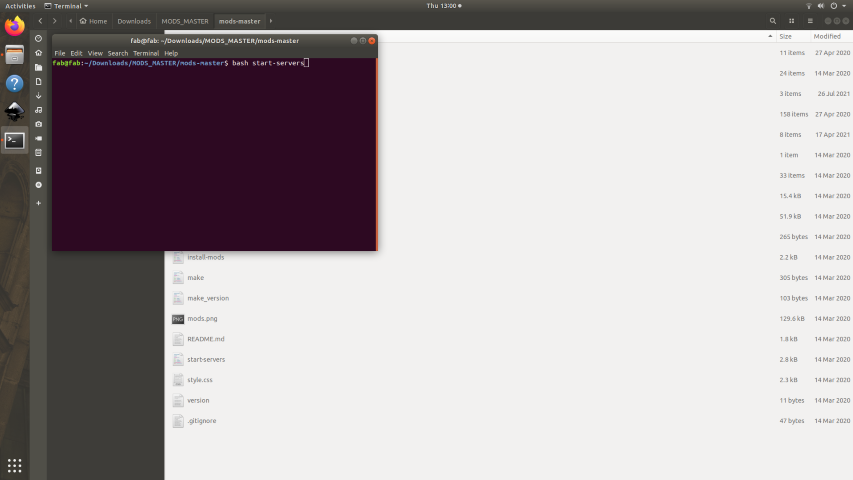
Git serve
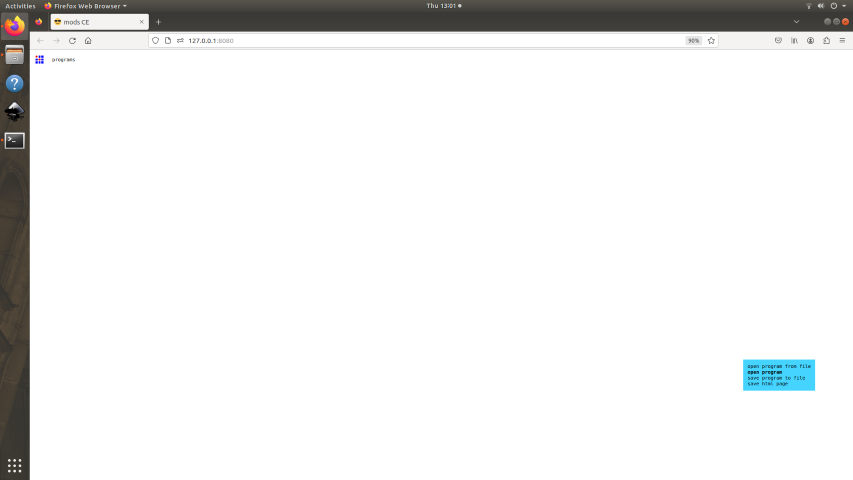
Choosing the program
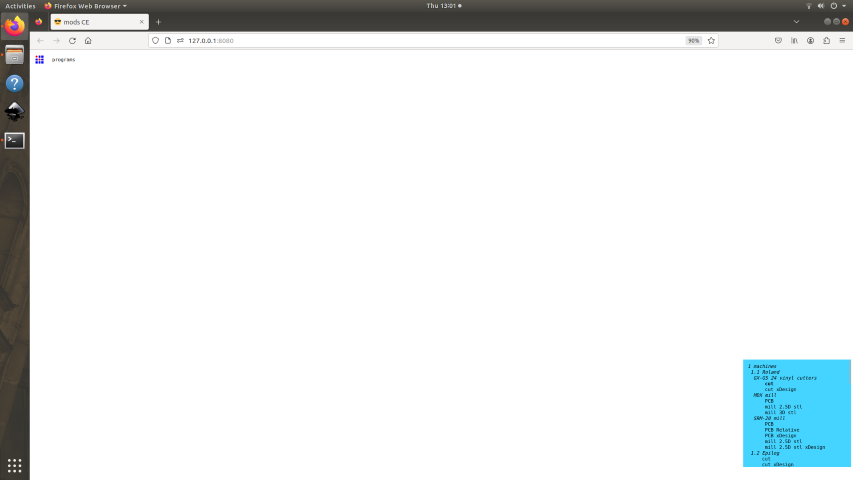
choosing the machine
.png)
3. Printing the sticker
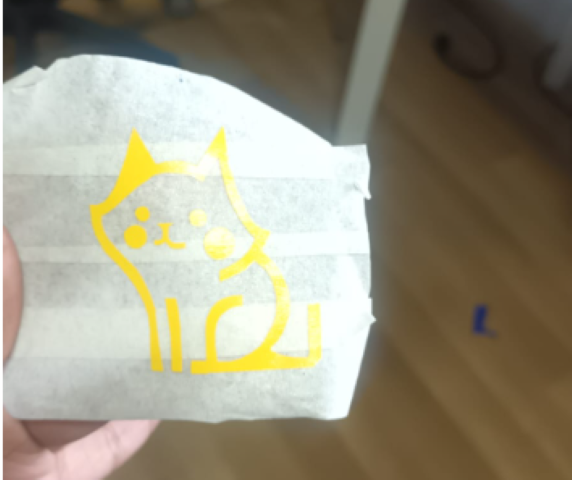
I used masking tape to transfer my sticker from vinyl sheet
Challenge faced
Even though technically anything could be made into sticker it’s important to make sure the chosen design is continuous line with enough thickness so that it can be cut out and pasted easily
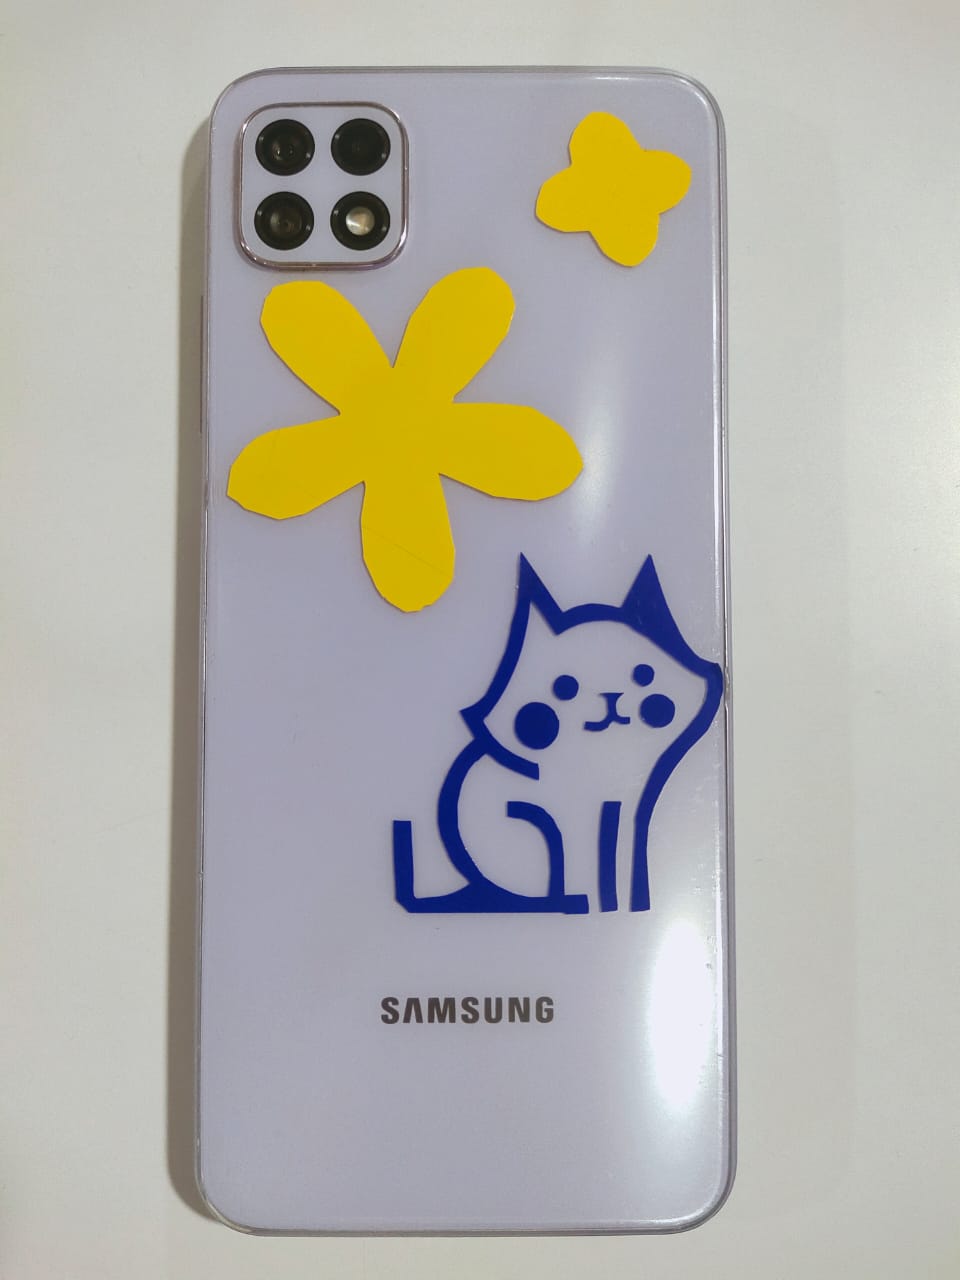
Final result
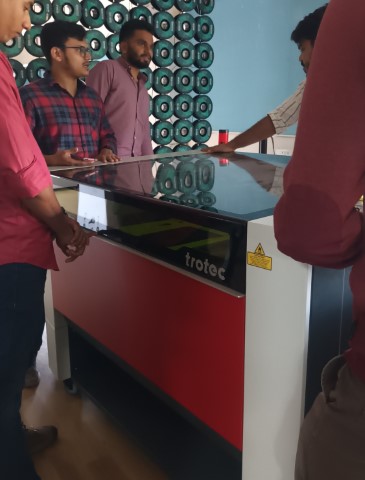
2. Laser cutting
laser cutters use a thin and focused laser beam to melt, burn, or vaporize certain materials, creating the cut or etch you need for your custom designs, patterns, and shapes.
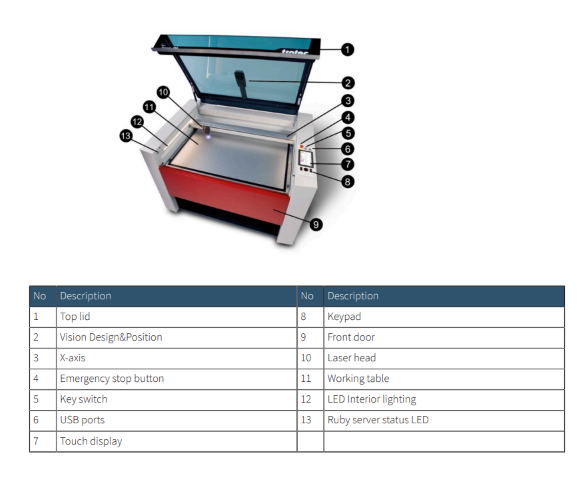
We tried using the speedy trotec which is not in working condition currently. We learnt to adjust the focus of the laser, set the origin and also how to maintain certain safety measures to prevent accidental fires.
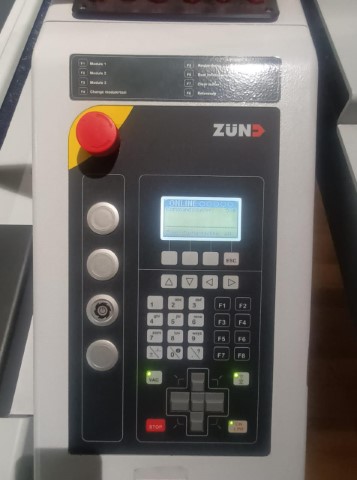
so we did the assignment using Zund
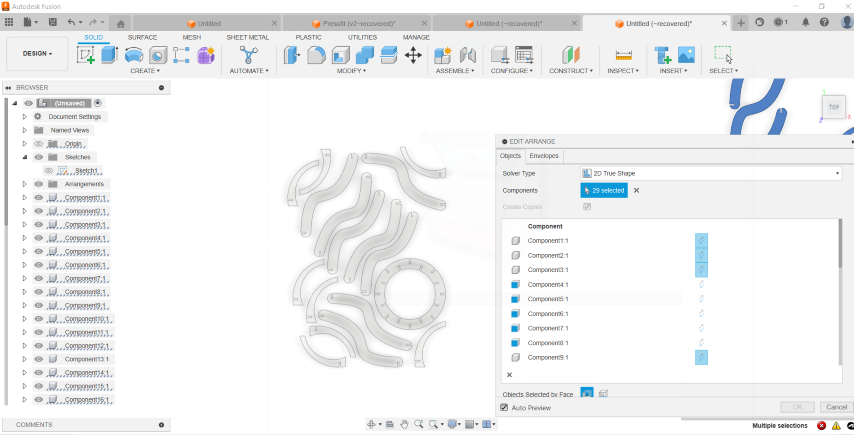
1.Creating the 2D drawing in fusion 360
Tools Learnt this week
- Using parameters and changing them
- Arranging the components
- Projecting the components
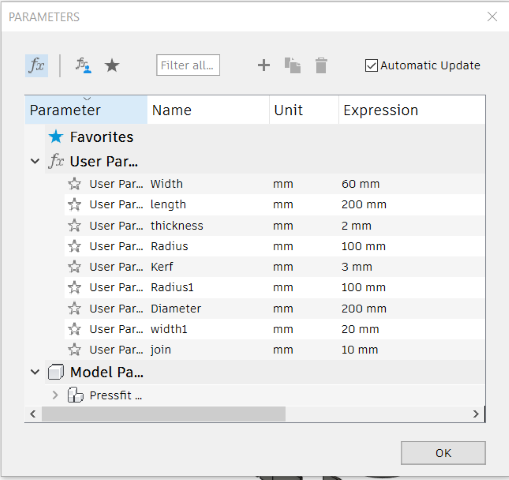
Adjusting the thickness parameter to understand how it works
.png)
.png)
2. Setting up in Zund
ZUND is a type of digital cutting system. It's used for cutting, creasing, milling, and routing various materials with precision.
.jpeg)
.png)
.png)
.png)
Final check to make sure the right blade is chosen, and if there’s enough space above the bed
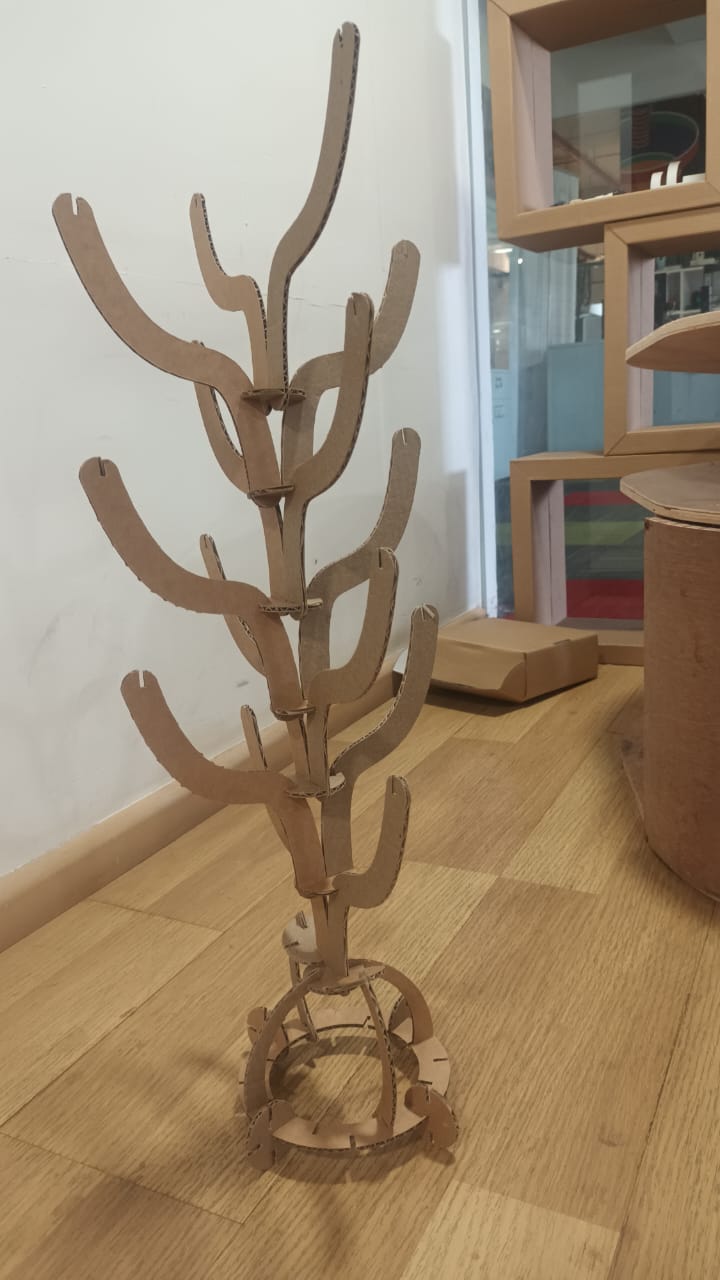
3.Final Result
So initially I tried to design the units with a form in mind but then I decide to go with random shapes and see what I can build from it. The architect in me was thrilled and disappointed at the same time.
I made 4 types of units. I wanted atleast one of them to have a very organic shape.
.jpeg)
.jpeg)
Challenges faced
- The slot initially provided was a bit extra to get the right fit. So had to adjust it
- It was important to adjust the depth of the slot also for certain pieces in order to maintain their shape
- The dia of the tool has to be taken into consideration while adding the slot in certain points because it could cut off the piece